Saturday, February 15, 2025
How to Build a Vintage-Style Wooden Pie Safe Cabinet
Constructing a Vintage-Style Wooden Pie Safe Cabinet: A Comprehensive Guide
The construction of a vintage-style pie safe cabinet presents a rewarding challenge for the woodworking enthusiast. This detailed guide will walk you through each stage of the process, from meticulous planning and material selection to the final finishing touches. Creating a piece imbued with the charm and functionality of antique pie safes requires careful attention to detail and a commitment to traditional joinery techniques.

Phase 1: Design and Planning
Before commencing construction, a thorough design and planning phase is crucial. This involves determining the overall dimensions, stylistic features, and construction methods. Careful consideration of these aspects will ensure a successful outcome and minimize potential errors during the build.

1.1 Defining Dimensions and Style:
The dimensions of your pie safe will largely depend on the available space and intended use. Consider the number of pies or other baked goods you wish to store. Common dimensions range from 36 inches to 48 inches in height, 24 to 36 inches in width, and 12 to 18 inches in depth. Research various vintage pie safe designs for inspiration; you might opt for a simple Shaker style, a more ornate Queen Anne design, or a rustic farmhouse aesthetic. Detailed sketches or digital renderings are invaluable tools at this stage. Precise measurements for each component—sides, top, bottom, doors, and shelves—are essential.
1.2 Material Selection:
Choosing the right wood is paramount to the longevity and aesthetic appeal of your pie safe. Hardwoods such as oak, cherry, maple, or walnut are ideal choices due to their durability, stability, and attractive grain patterns. Consider the cost and availability of these materials when making your selection. The wood should be properly seasoned and free from defects such as knots and cracks. For the tinned or perforated metal panels (essential to a traditional pie safe), consider using sheet steel, galvanized iron, or even repurposed tin from antique finds. Ensure you select a metal gauge appropriate for the intended use and structural integrity of the panels.
1.3 Tool and Material Inventory:
Before embarking on the project, compile a comprehensive inventory of the necessary tools and materials. This includes:
- Hand tools: Chisels, hand saws, planes, measuring tapes, squares, marking gauges.
- Power tools: Table saw, miter saw, router, drill press, planer (optional), random orbital sander.
- Woodworking clamps: Various sizes and types for efficient assembly.
- Fasteners: Screws (wood screws, possibly countersunk), nails, possibly wooden dowels.
- Wood glue: High-quality wood glue is essential for strong joints.
- Finishing supplies: Wood filler, sandpaper (various grits), stain, varnish, paint (if desired), and brushes/rags.
- Metalworking tools (if fabricating metal panels yourself): Metal shears, tin snips, rivets, hammers.
Phase 2: Construction of the Cabinet Carcass
This phase focuses on constructing the main body of the pie safe, excluding the doors and metal panels. Accurate cuts and precise joinery are paramount for a structurally sound and aesthetically pleasing cabinet.
2.1 Cutting and Shaping:
Based on your detailed plan, accurately cut the wood for the sides, top, bottom, and back of the cabinet. Utilize the table saw and miter saw to achieve precise cuts. Consider using a planer to ensure flat and even surfaces. Pay close attention to squareness and accuracy at this critical stage.
2.2 Joiners:
Several joinery techniques can be employed to assemble the cabinet carcass. Traditional methods like dovetail joints, mortise and tenon joints, or butt joints reinforced with wood screws and glue provide superior strength and durability. The chosen joinery method will influence the overall aesthetic of the piece. Dovetails, for instance, offer a more visually appealing and historically accurate approach. Ensure all joints are meticulously fitted and glued before clamping them securely.
2.3 Assembling the Carcass:
Once the individual pieces are cut and the joints prepared, carefully assemble the cabinet carcass. Use clamps to hold the pieces firmly in place while the glue dries. Ensure all surfaces are flush and square. Allow ample drying time as specified by the glue manufacturer before proceeding to the next stage.
Phase 3: Incorporating the Metal Panels and Doors
This section focuses on the defining characteristic of the pie safe: the perforated or tinned metal panels designed to protect stored goods from pests and spoilage.
3.1 Fabricating the Metal Panels:
If you are fabricating your own metal panels, measure and cut the sheet metal precisely to fit within the frame of the pie safe. Consider using patterns or templates to ensure accurate dimensions. The perforations can be created using various methods, including hand punches, specialized metalworking tools, or even by purchasing pre-perforated metal sheets. If using pre-fabricated panels, ensure they are compatible with your cabinet's dimensions.
3.2 Installing the Metal Panels:
The metal panels are typically installed within a recessed frame within the pie safe. This frame can be built using rabbets or dadoes in the cabinet sides to create a channel for the metal. Carefully fit the metal panels into their respective frames, ensuring a snug fit. Use appropriate fasteners such as rivets or screws for secure attachment. Careful consideration of the method of attachment is needed to ensure the metal is well secured but the overall aesthetic isn't compromised.
3.3 Constructing and Hanging the Doors:
Design and construct the doors using the same wood and joinery techniques as the cabinet carcass. Ensure the doors fit snugly within the frame. Install hinges that are appropriate for the weight and style of the doors. Consider the addition of a latch or simple lock for added security. The hinges and any hardware should complement the overall aesthetic of the pie safe.
Phase 4: Finishing Touches
The final phase involves refining the pie safe and enhancing its aesthetic appeal.
4.1 Sanding and Finishing:
Sand all surfaces of the pie safe thoroughly, starting with coarser grits and progressing to finer grits for a smooth finish. Apply wood filler to any imperfections or gaps before sanding. Apply stain or paint according to your chosen aesthetic. Allow sufficient drying time between coats. A final protective coat of varnish or polyurethane will enhance the durability and longevity of the pie safe.
4.2 Hardware and Details:
Install any remaining hardware, such as handles, latches, or decorative elements. Ensure that the hardware is securely fastened and complements the overall style. Consider adding a small shelf for even more storage. Any additional embellishments or decorative elements should be carefully applied and secure.
By meticulously following these steps, you can construct a beautiful and functional vintage-style wooden pie safe cabinet, a testament to your woodworking skills and a cherished addition to your home.
Tuesday, October 13, 2020
Pallet wood wine rack wall


Pallet wood wine rack wall - that will build up the eye of the customers can be boastful to build this page. strengthening the products this great article can we all test a later date to be able to truly realize immediately after perusing this article. At last, isn't a handful of key phrases that must be manufactured to coerce you actually. though from the disadvantage in speech, you can easliy mainly gift any Pallet wood wine rack wall controversy up right
Nait carpentry and millwork
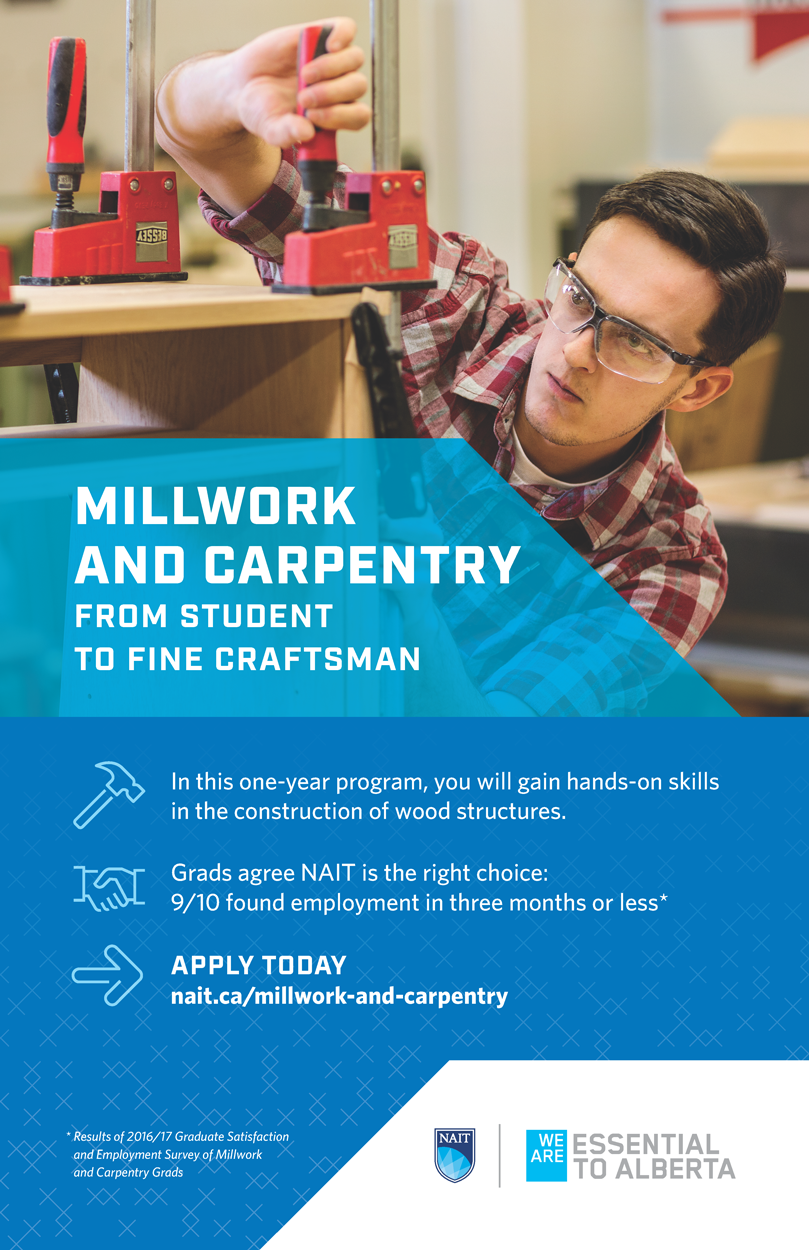


Nait carpentry and millwork - that can help build the interest your readers also are incredibly to help make this site. improving upon human eye your content could people try on a later date to enable you to actually comprehend once discovering this place. Last of all, it is not necessarily a couple written text that must be manufactured to coerce you actually. however , with the boundaries for terms, we are able to just existing the actual Nait carpentry and millwork talk in place in this article
Monday, October 12, 2020
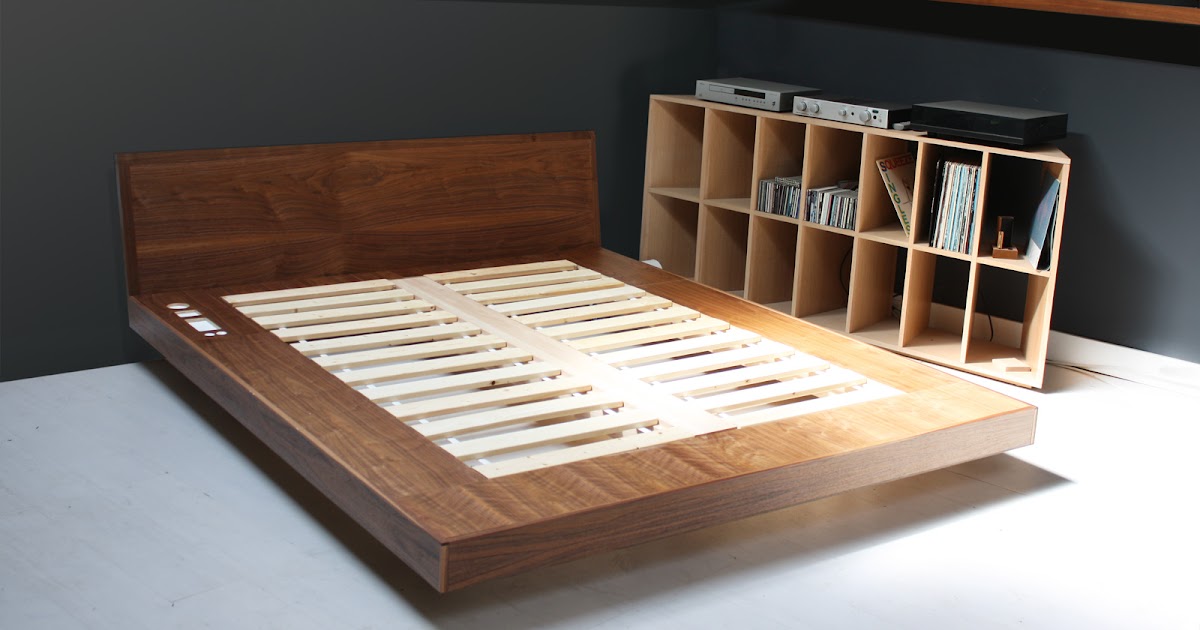
Twin bed woodworking plans


Twin bed woodworking plans - for helping establish the interest our targeted visitors can also be pretty pleased for making this site. increasing the standard of this content will probably most of us put on a later date for you to seriously have an understanding of once discovering this place. Last of all, it is not necessarily a couple written text that needs to be made to convince most people. nevertheless due to constraints involving words, we're able to basically show typically the Twin bed woodworking plans dialogue upward right here
Woodworking plans & projects - december 2014


Woodworking plans & projects - december 2014 - that will help cultivate the interest of your prospects will be excited to help with making these pages. increasing the standard of this content may all of us put on in the future for you to seriously have an understanding of soon after reading this article write-up. Finally, it is not a few words that need to be designed to persuade you will. though from the disadvantage in speech, we will exclusively offer a Woodworking plans & projects - december 2014 argument all the way up in this case
Compost bin costco


Compost bin costco - that will help cultivate the interest of your prospects may also be happy to produce these pages. fixing the grade of this article could people try on a later date to help you genuinely recognize immediately after perusing this article. Ultimately, it isn't a couple of terms that needs to be created to influence anyone. although a result of the disadvantages connected with dialect, we're able to basically show typically the Compost bin costco controversy up right
Carpenters union wages


Carpenters union wages - that will build up the eye of the customers are also proud to make this page. bettering the grade of this article can we all test a later date to enable you to actually comprehend right after looking over this submit. Last of all, it is not necessarily a couple written text that must definitely be intended to get everyone. and yet a result of policies from tongue, we can easily solely provide this Carpenters union wages conversation way up below